They Don't Make 'em Like They Used To - Part 2

I have been looking on eBay for another vintage sewing machine to fix up for about a month. I thought I wanted a 185k, they are small but powerful and I like the fact they aren't black. The UK ones are tan.

I looked at a few and nearly bought one nearby for £9.95 but it had no lead and no way of testing it unless I paid nearly £30 for a new lead. Then I stumbled upon this beauty;
It's a Singer 306K in a model 40 Queen Anne, walnut burr cabinet.


I saw the auction about an hour before it ended, it was at £20 and I waited for as long as I dared before bidding. I won it for £37.78 but paid £40 when we collected it.

Because of the age the sellers didn't give me the power lead, incase it wasn't safe electrically, they hadn't mentioned this in the listing but I still think it was a bargain. I managed to get a power lead on eBay for £14 but it meant I had to wait another week to try it out.


I only needed a power lead, not a foot pedal, because the machine is knee operated and the controller is held on a bracket in the cabinet. The lead arrived yesterday and I tested it out, it ran very smoothly and made a nice stitch but after about 10 minutes it suddenly started running on its own and I had to unplug it.

I did some research and discovered the problem was the capacitor in the control pad in the cabinet. Apparently, they used to fit capacitors in the foot pedals to prevent the machines from causing interference with TV signals but they aren't necessary now. I know, I found it hard to believe, too. Anyway, when they get old they can cause power surges which make the machine run when you don't want them to.

So, I removed the control pad from its bracket inside the cabinet, unscrewed the 4 screws that hold the cover on and looked for something that wouldn't look out of place in the Delorian.
I unscrewed 2 screws, removed the wires, rescrewed the screws and took out the 2 "battery" looking things. Then I put everything else back together and tried it again. It works perfectly! 

The 306K has 6 pattern cam discs that give different stitches like zigzag, satin stitch, blind hem, arrow stitch, domino stitch and waves. You change them by turning the large silver knob on the front.
You adjust the needle position and stitch width on the black dial and the stitch length is the lever below, which is also your reverse stitch lever. 

I did think cams would be fiddly and complicated but they are easy to use and work well. 

The bobbin for the 306K is vertical and is accessed by lifting the machine, which isn't as awkward as I was expecting. The serial number is located near the bobbin;
The 306K was made between 1954 and 1961 and mine was one of the first ones made in 1954. It was top of the range in its day and so was the cabinet. It would have cost a LOT of money in 1954.
 
I paid;
Machine cost - £40.00
Power lead - £14.00
Repairs (parts & labour) - £0.00

Total = £54.00, bargain! 


They Don't Make 'em Like They Used To - Part One

5 years ago I bought a 1972 Singer 413, in a table, for £1.00. I got it on eBay and it was only 2 streets away. It didn't stitch at all, which suited me perfectly because what I really wanted was a challenge. 
I certainly got one. I took off the top cover and found that one of the gears was totally perished.

That little brown thing is supposed to bigger and fluted but it had crumble to almost bare metal. A quick search online and £9.50 later and I had a lovely new one. Thank goodness Singer parts are relatively easy to get. 

Fitting the new one was a challenge, 2 hands aren't really enough to hold onto small parts and then fit them into a tight space, whilst holding other parts of the machine in place. I had to use pliers, a screw drive and haemostats just to reach into the machine. 

After much dropping and a bit of bad language I fitted the gear, put everything back in place and then had to adjust the timing. It took about 2 days of fiddling. The Internet was a massive help with this and I now have a fully working machine, with table for £10.50.

My Craft Room

We bought our house in 2006, it has 3 bedrooms (there are 6 of us), 1 reception room, kitchen, bathroom, conservatory and built in garage. I didn't have a sewing space for a long time, so I used the dining table and packed away every evening.

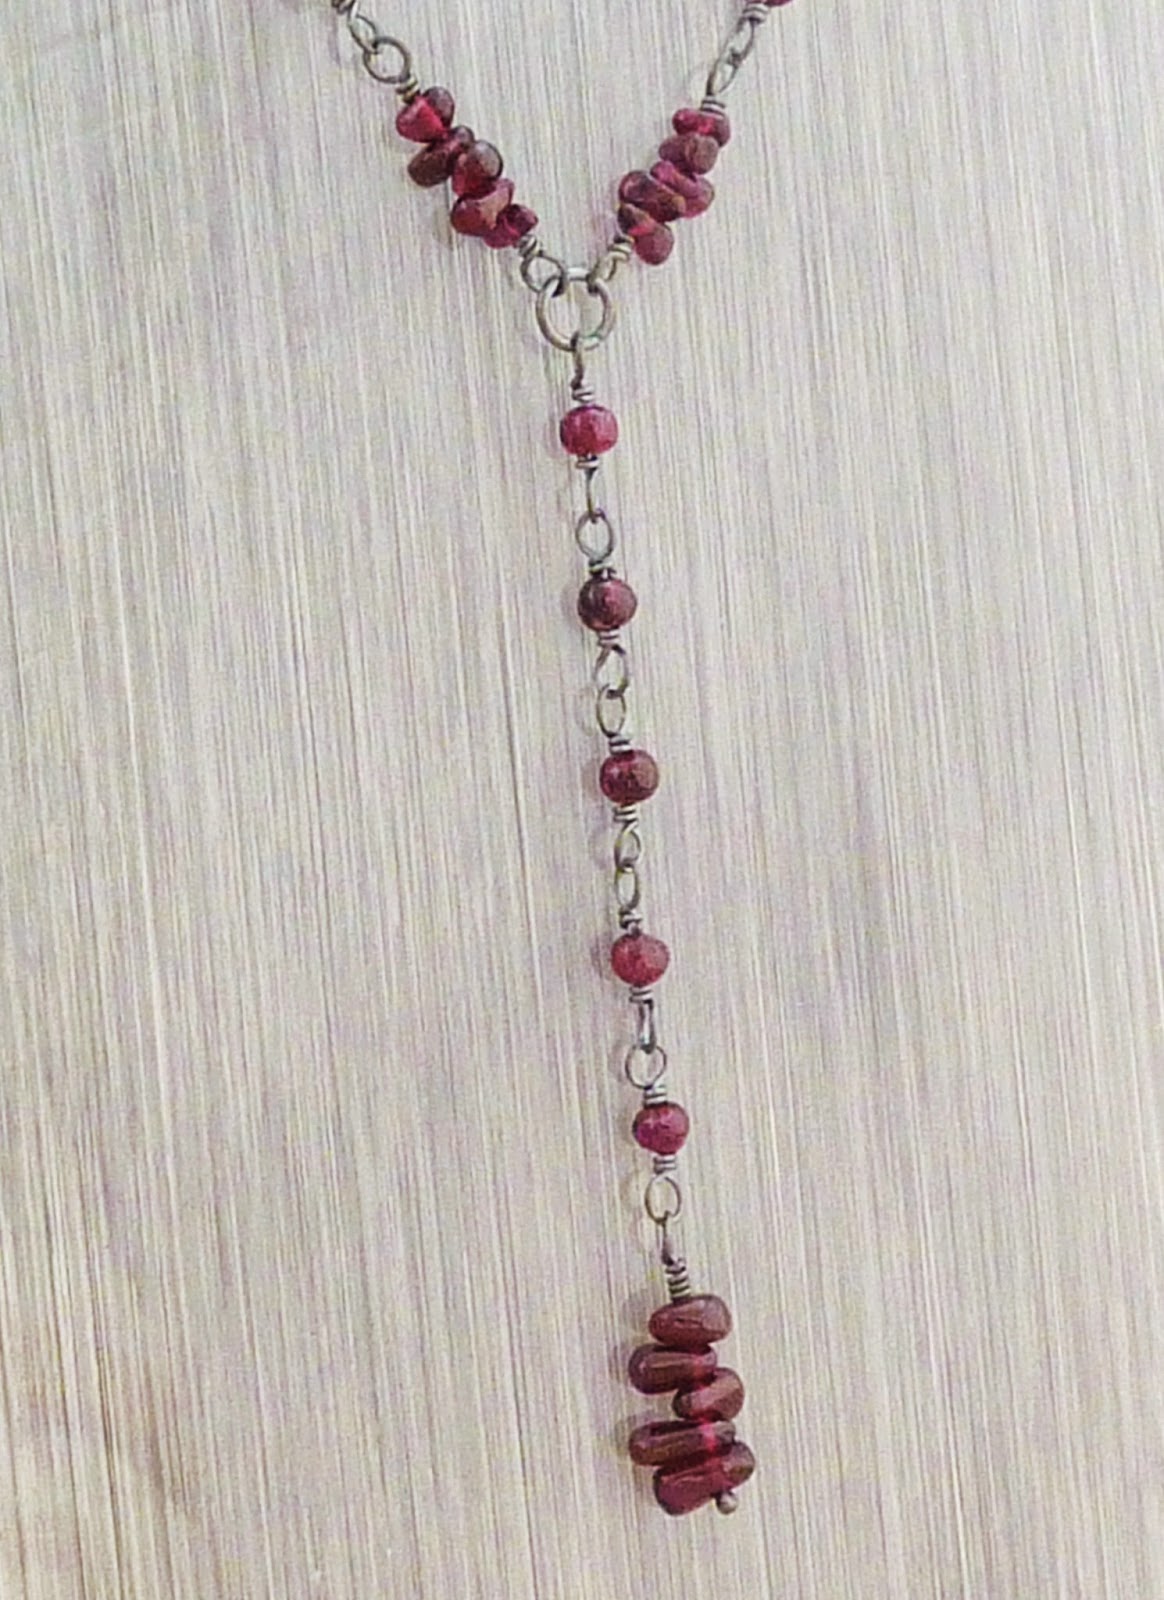
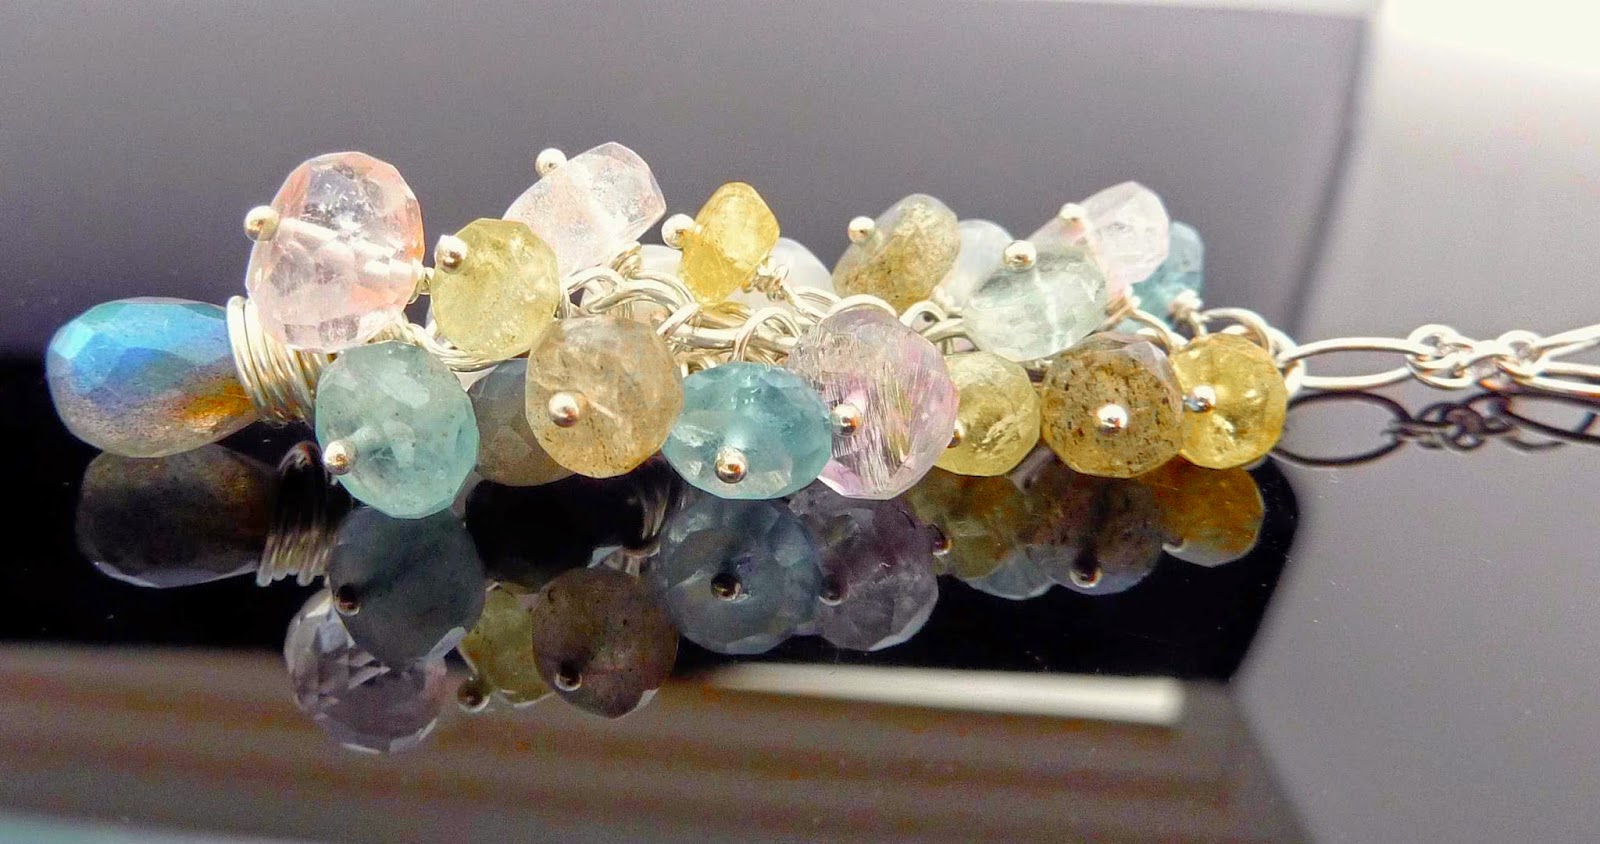
I do a lot of other crafts besides sewing. I spin, knit, dye, crochet, make rugs, weave and my main other hobby (& part time business) is making jewellery.
www.abigailfranklyn.comwww.abigailfranklyn.com

I also ran an online beads store for 5 years. I have a LOT of craft stuff.

In January 2010, after a very rough year nursing our 3 year old daughter through heart surgery, my husband suggested that we turn the garage into a craft room for me. We aren't great at DIY, so we relied heavily on Youtube videos on plasterboarding and building partitions, etc.

Before...

We worked solidly for a week in the freezing cold. First we had to clear the garage, sorting out what was going in the shed and what was going into the skip. Then we had to board the walls, build a partition with a door frame, level the floor, add membrane & floor boards, paint with special paint & lay carpet. We fitted a door into the new partition so that we had an 8' x 12' space for the craft room and a 8' x 5' space for storage (it is now a mini gym). We painted the walls and bought and built new furniture from Ikea. I had my own space to design and fit to my purposes.

 Building the partition...
 
Taking shape...

This is my sewing desk, with 2 Alex drawer units and desk top from Ikea. That is the tidiest it has ever been. That is my old Brother sewing machine, it didn't like stitching straight lines.
We made good progress but, while building the room we were called back into Southampton Hospital for our daughter to have another heart operation so things were put on hold for a while.
 
After we came home we added more furniture, old and new, including an Expedit 25 cube unit and desk and my 1960's Singer with table that I got for £1 and repaired. My brilliantly clever brother in law visited from America in March 2010 and fitted an extra strip light above the sewing table and some extra plug sockets, which have been extremely useful.
 
I also treated myself MASSIVELY to a new sewing machine. I got a brand new Pfaff Expression 3.0. After the cost of the new craft room and new furniture (about £900 in total) I had to take advantage of the 12 months 0% finance on offer. I wanted a sturdy machine that was well built and solid and I got it. Nearly 5 years later and she has never let me down. I LOVE HER.
 
My husband paints Warhammer figures so we now share the craft room and the kids use it occasionally too. Unfortunately I didn't take more pictures of the room when it was tidy and now it is rather full and messy and I am a little ashamed of how untidy it is. But, it was totally worth doing. We now have a usable room, somewhere I can start something and leave it for a week without it getting moved around and lost. I know where everything is (just about) and it helps me keep a bit more organised.
 
My daughter, Carrie (8), using her own sewing machine to make her first quilt...
As you can see, she has recovered well from her heart surgeries.


These Geese Are Flying!

I am still avoiding the quilting on my niece Naomi's quilt. Actually, when I looked at it yesterday I couldn't find the bad bits of stitching that were bothering me. It doesn't mean that they aren't there, just that, maybe, they aren't as noticeable as I thought. So, I will get it finished before her wedding in the new year.

What I HAVE been doing is making the flying geese for my Ohio star quilt. I am lucky enough to have a very kind and thoughtful mother and whilst browsing on Amazon recently she saw this and thought of me!..
Isn't it lovely!

I have been following Bonnie Hunter's wonderful Quiltville blog for donkey's years now, if you haven't seen it yet, you MUST. When you have finished here. She has a wonderful scrap user's system and gives lots of beautiful free patterns, she writes brilliant books and runs Quilt Cam on youtube, a sort of sew along thing that is great to have on in the background while you sew.

Anyway, a lot of Bonnie's quilt patterns use the EZ Angle and EZ Companion rulers but to buy both of these you would be looking at spending about £30! That is the cost of a whole Jelly Roll or Layer Cake! So, I thought about it and bought fabric instead. Then my mum called and told me that she had bought me a flying geese ruler and a Tri Recs set of rulers (more on that another time) and they would be arriving the next day. How great is my mum? Pretty great! I hadn't mentioned these rulers to her but she saw a print out of one of Bonnie's patterns on my window sill and went home to order me the rulers. She couldn't remember which rulers they were & thought she had bought the wrong ones.

It turns out that the EZ Flying Geese ruler is, in my opinion, even better than the EZ Angle and Companion rulers. Because of the markings you only need ONE RULER! It makes geese from 1.5" x 3" to 6" x 12" and you can make QSTs with it, probably HSTs too.


You cut your geese pieces from strips. I am using 2.5" strips to make 2" x 4" finished size geese. You cut the middle (goose) part using side A, which has purple markings and the side parts using side B, which has blue markings. There are notches that align with the top of your strip and these help with positioning your fabric when you sew.

 
I need to make 144 geese units and sew them into 24 sets of 6. I spent a couple of hours pressing fabric and cutting and I sewed on and off all day yesterday. I nearly have all of my geese sewn, only 35 to go!
 
I plan to have these chasing around my Ohio stars.

 
Keep it scrappy! Abi

UK Quilters Fabric Swap


I am currently organising some fabric swaps on Ravelry. There is a scraps swap, a 2.5" squares swap and a 5" squares swap - all fabric must be 100% cotton and suitable for patchwork (i.e. quilting weight).

You can join in here Fabric Swap you will have to be a Ravelry member (its free) and join the UK Quilter's group. Leave a message on the board and join in. Deadline for signups is 5th December 2014 and I need to have your fabric here by 12th December so that I can swap it around and send it back out.
 

So, I Started Another Project...

...before finishing anything else. I know. I'm a rebel. Actually, I started TWO other projects, but I only have pictures of one of them, so far.

I mentioned in one of my earlier posts that I bought a QST (quarter square triangle) die for my sizzix because I planned to make an Ohio Star quilt. Well, I couldn't resist the temptation. I made these scrappy 12" blocks;


I used the Jo Morton scraps that I bought on ebay, part of one for the FQs from my Vin Du Jour pack and other prints and batiks from my stash. I cut all the pieces on my Sizzix. I am not entirely sure about the pink batik star because it is a bit lighter than the others but maybe a lighter star will add some sparkle to the quilt.
 
I made 9 blocks and plan to set them 3 x 3 with scrappy flying geese sashing. That will make the quilt 52" and then I can decide if I want a border or just binding. I am making it all up as I go along.
 
 
In other news, I finally managed to get some Mary Ellen's Best Press at a price that I loved. I got a big 32oz bottle, all the way from America for £8.57, including postage! There must have been a pricing mistake because now it'll cost £19.28 for the same bottle from the same seller. Its a starch alternative and is widely used and recommended by quilters in America. I have been itching to get my hands on some after trying various spray starches from local supermarkets but if you cannot get it then, in my opinion Easy Iron by Dylon is the best of an imperfect bunch (but I haven't tried them all).
 
I am not affiliated with MEBP in any way and I don't sell it (wish I did) but I have to say that it is a fantastic product. It doesn't make your fabrics as stiff as a board like starch can and it doesn't flake or gum up your iron - at all! It doesn't make the laminate flooring beneath your ironing board as slippery as an ice skating rink, either, which is a bonus.
 
What it does do is make ironing and pressing a LOT easier, it makes fabrics more manageable and I found that they frayed less when I cut into them. Also, you know those folds in the centre of your fabric that are almost impossible to get out? Just spray this on the fold (or any tough crease) and wait for 30 seconds or so and creases start to disappear before you even start to iron it! I bought the cherry blossom variety and it smells really nice, even when re-pressing later. There are other varieties, including scent free. I used it on my fabric before cutting and on cut pieces and on sewn units. I also used it on my Ohio Star blocks to help me press them to the right size, it really did the trick. This isn't an advert, just a review so that you can decide if it might be useful to you, too.
 
I am currently organizing a fabric swap over on the UK Quilter's board on Ravelry. I will put a link on my next post. Happy quilting, Abi.

Unexpected Gift

I love craft magazines, especially patchwork and quilting ones. I have shelves full of back issues of British Patchwork & Quilting, Popular Patchwork, McCall's Quilting, Fons and Porter's Love of Quilting, The Quilter, Fabrications, Magic Patch - name a quilting magazine and I will have a few issues on my bookshelf. I have quilt mags from France, Australia, America and Britain and they are all good reads. The British ones, though, can be a little bit old fashioned and some of the articles are a bit boring and the issues get a bit repetitive. So, I decided to stop buying magazines for a while.

Then, last month I bought the October editions of Quilt Now and Love Patchwork and Quilting magazine. I hadn't seen either of these before, due to my magazine starvation diet. Both magazines are quite new, there have only been a handful of issues of Quilt Now.

I read both of these magazines from cover to cover and what a breath of fresh air they turned out to be. I wouldn't call myself an ultra modern quilter, I am somewhere between a modern and a traditional quilter. I don't really like "Art Quilts" or anything too abstracts & wacky, but I love lots of white or grey, teamed with simple lines and shapes and some of the modern prints.

Both of these magazines had very generous subscription offers but I could only afford to subscribe to one. I re-read both magazines and chose a favourite, the one with the projects I wanted to make and the articles I found the most interesting was Love Patchwork and Quilting magazine. I also preferred it because it was a little less "fluffy", it felt a bit more advanced, which I love.
                                    <!--START MERCHANT:merchant name My Favourite Magazines from affiliatewindow.com.-->
Issue 13 of Love Patchwork & Quilting - with a most beautiful cover quilt by Lynne Goldsworthy

Before I subscribed I decided to have a go at making the Union Jack foundation pieced block at the back of the magazine to brush up on my foundation paper piecing. While making the block I discovered a very slight error in the pattern. The block is made in 4 quarter sections, 2 x A + 2 x B. However, when you put them together to make the block the white lines of the Union Jack do not go where they should. I think it was the only error in an otherwise excellent magazine, so I contacted them to tell them about it. They checked the block and told me that I was right. They were very apologetic and asked for my address so that they could send me something as a thank you.

Look at what they sent me!

12 Fat Quarters of "Sew Yummy" 100% organic cotton from Cloud Nine. How lucky am I?

Beautiful fabrics with sewing designs on them; zips, pin cushions, spools, seam rippers and scissors.
They also sent me a new copy of the Union Jack pattern.

I am really impressed with their generosity and the magazine itself. The November issue was just as great so I am glad I chose to subscribe to this magazine, I think its right up my street.
Issue 14 - Look at that beautiful star!
 
 You can get your subscription with a hefty discount (currently 40%) here:

Fabric Stash Management

I promised in my last post that I would tell you a little more about how I manage my stash and in particular my scraps. I keep most of my fabric in drawers, which keeps them clean and out of sunlight but also means that I don't always know what I have. So, I will often cut pieces from my yardage and fat quarters so that I can move them around with other fabrics and make combining fabrics and planning quilts easier. I also cut up all of my scraps and small pieces into more usable shapes and store them until needed.

This is my scrap corner, it needs tidying and there is a quilt in progress adding to the clutter but you can see the 4 spotty boxes and the blue lever arch file on top. This is my scrap organisation centre.
The dotty boxes are from Asda and are collapsible, which can be awkward if they collapse as you lift them. But they are pretty and the hold quite a lot.

The blue box holds my strips, usually cut to 2.5".


Then, I have a spotty box for each of the shapes I cut with my Sizzix Big Shot, which is the same model as this one;

I got mine from QVC about 2 years ago, it was an anniversary present from my mum and it came with 5 quilting dies;
  • 2.5" Square (2" finished size)
  • 2.5" Half Square Triangle (2" finished size)
  • 4.5" Square (4" finished size)
  • 4.5" Half Square Triangle (4" finished size)
  • 2.5" x 4.5" rectangle (2" x 4" finished size)
HSTs:


Squares - 4.5" die cut on the right, Moda 5" charm packs on the left:


2.5" squares and the rectangles:


Last month I added to my die collection, I bought a 4.5" quarter square triangle die, specifically because I love the Ohio Star block and want to make some for a quilt. I haven't chosen the fabrics for that yet so I haven't used the die yet.
 
You can also buy applique dies for the Sizzix Big Shot and other patchwork dies. I would love the double wedding ring die but that is for the larger model of machine so I can't use it with mine.
 
The dies I have all work together perfectly and the blocks I can make from them are endless. I plan to use them for Ohio Star, Bear Paw, Flying Geese, Churn Dash, Carpenter's Star, Crown of Thorns, Pinwheels and  a whole lot more. So far I have made 4 quilts with my Sizzix cut pieces, including the scrap quilt I am quilting at the moment...


...yeah, the one that isn't quilting too well.